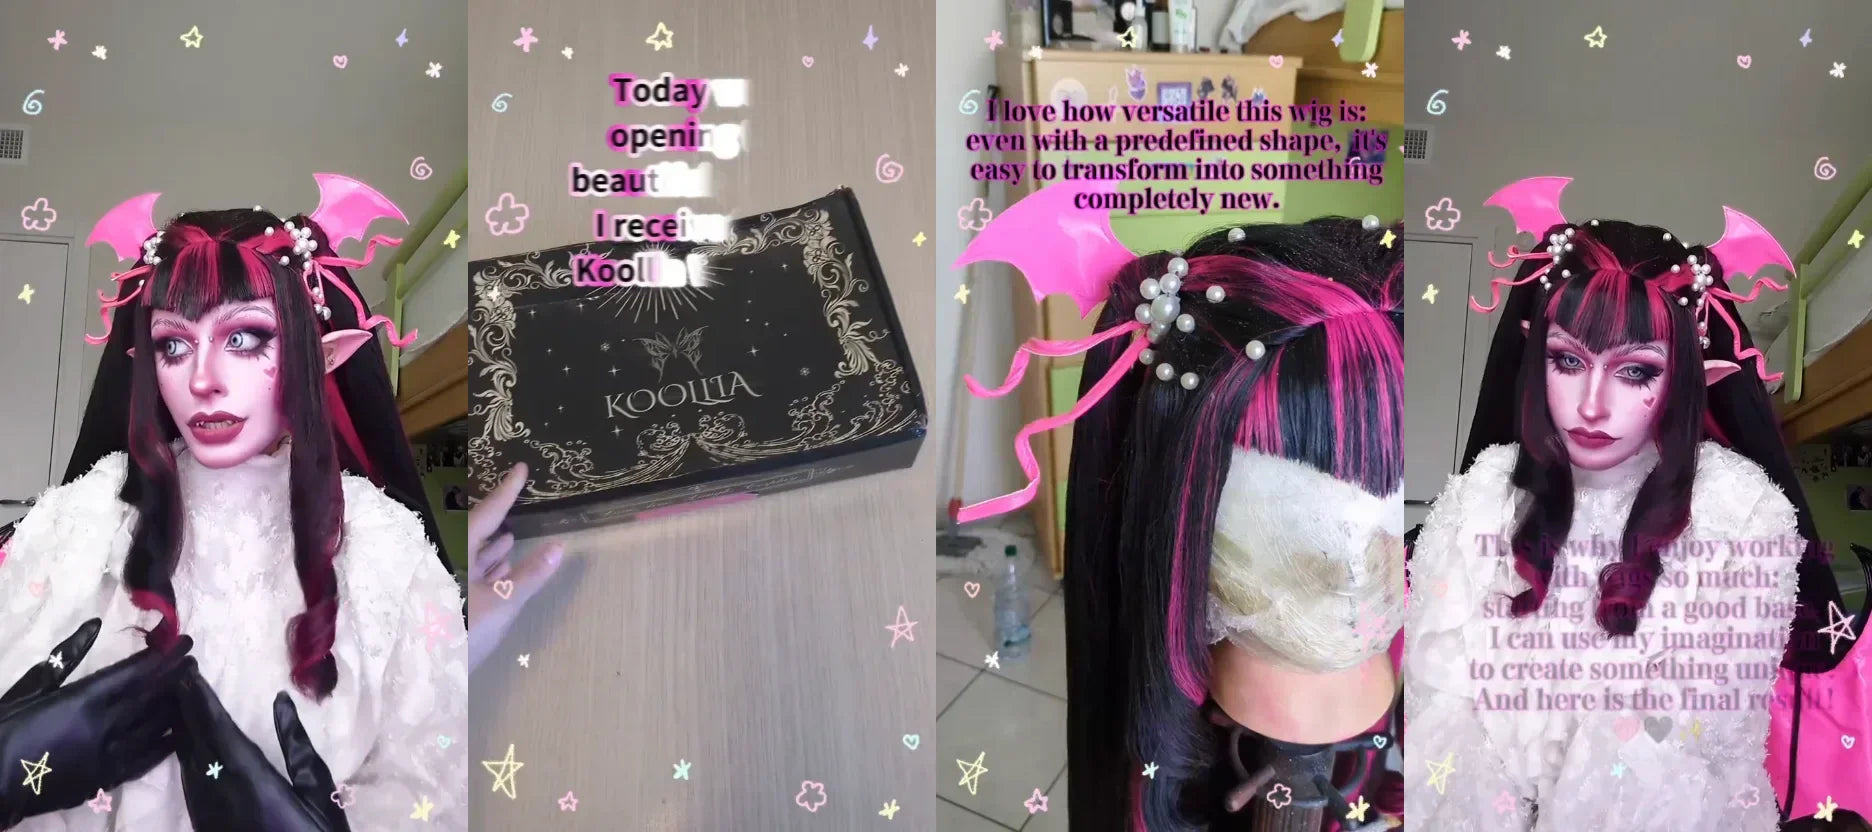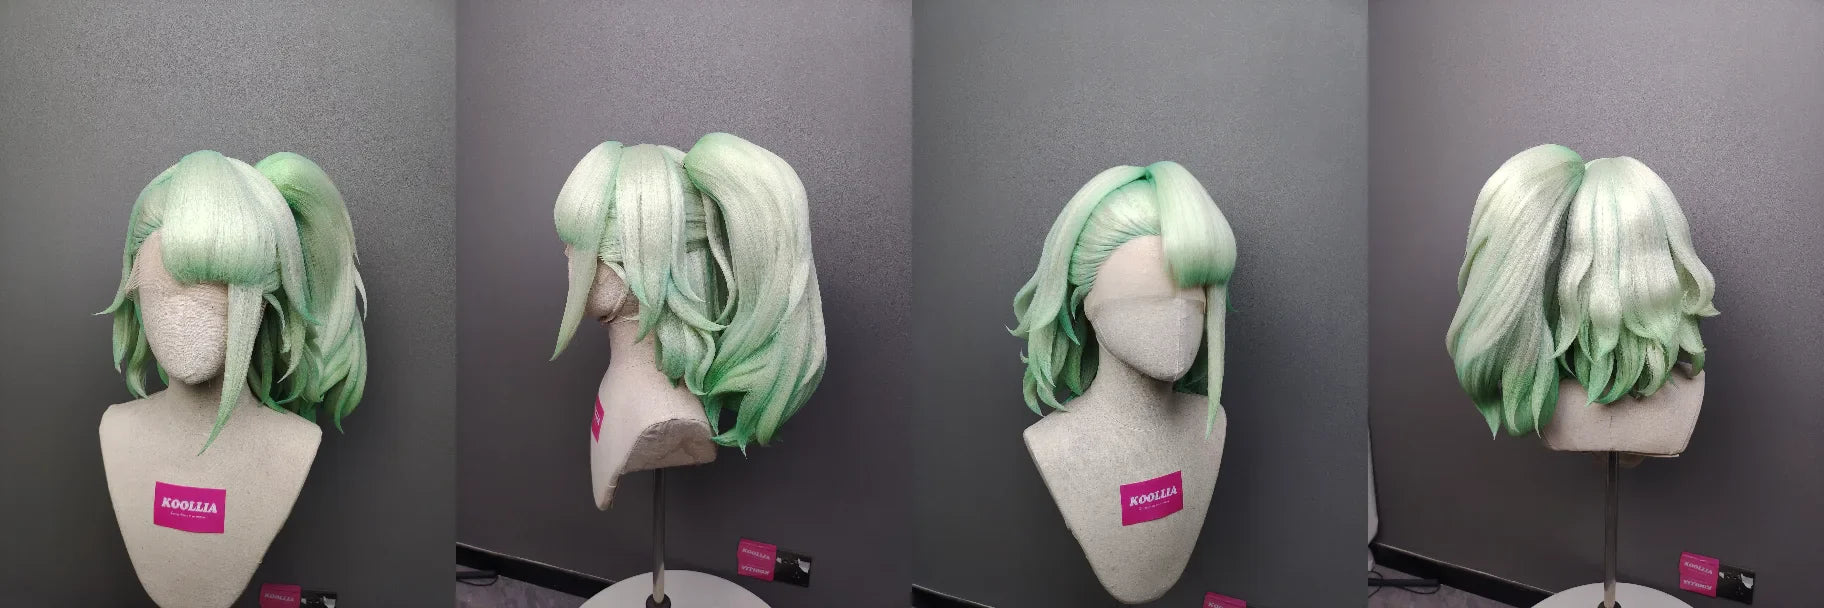

Hey everyone! Today we’re diving into one of the most transformative parts of any cosplay build: Wig Styling!
Let’s be honest—we’ve all had that moment. You order a beautiful basic wig online, it arrives in a tiny plastic bag, and when you pull it out... it looks more like a flattened bird's nest than your favorite character’s hair. It’s flat, it’s shiny, and it definitely doesn't defy gravity. But don't worry! Every master stylist started exactly where you are right now.
Styling is where the real magic happens. It’s the difference between "wearing a costume" and becoming the character. In this guide, I’m going to share my years of trial and error (and believe me, there were many "glue disasters" along the way!) to help you master how to style a wig for cosplay. You can also check out our full collection of wig guides for more character-specific tips. Let’s turn that bag-wig into a masterpiece!
1. Why Styling is Your Secret Weapon
When you first start cosplaying, you might think the outfit is everything. But the wig is the frame for your face! It’s the first thing people notice in photos. A well-styled wig can take a simple closet cosplay and make it look professional, while a messy wig can distract from even the most expensive armor.
Remember, you don’t need a high-tech studio to get started. Whether you’re working on a dedicated craft desk or your kitchen table, the key is having a well-organized setup so you can focus on your art.
2. My Journey: From Glue Disasters to Professional Crafting
My journey with wigs started years ago with nothing but a cheap pair of scissors and a lot of hope. I remember my very first attempt—it involved a lot of sticky mess and not much style! Over the years, I've slowly collected the tools and skills that make styling second nature.
I didn't get my first professional steamer or airbrush kit until much later in my career. The point is: your skills will grow with you. Don't worry if you don't have all the fancy equipment yet. Start with what you have, experiment often, and let the journey begin!
3. The Expert Toolkit: What’s in My Styling Station?
Success starts with the right tools. I’ve tried every "hack" in the book, and these are the essential styling accessories I absolutely wouldn't want to miss for any of my projects:
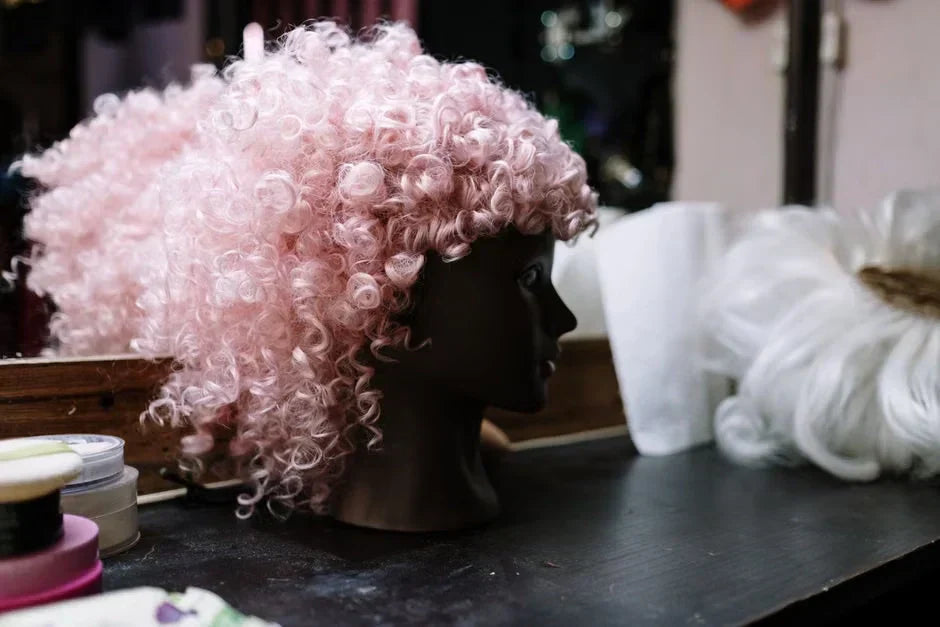
- Mannequin Head: A canvas block head is my personal favorite because it’s sturdy and holds its shape.
- T-Pins: Essential! Secure that wig to the head before you start brushing or cutting. There’s nothing more frustrating than your wig sliding off mid-spike.
- Got2b Glued Blasting Freeze Spray: If there is a "holy grail" of cosplay, this is it. It’s the only thing that provides that iron-clad hold for gravity-defying anime hair.
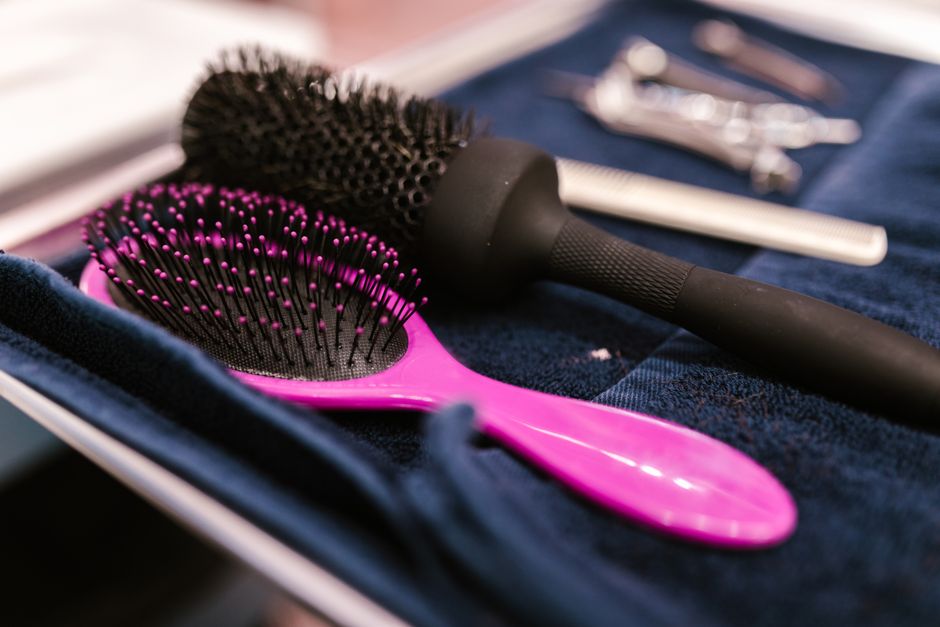
- Wide-Tooth Comb & Anti-Static Brush: Avoid regular brushes! They create static and can damage synthetic fibers.
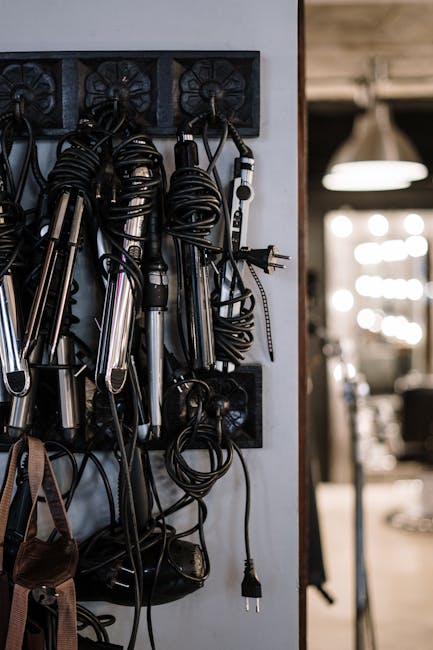
- Crimping Iron: My absolute secret weapon for volume. (More on this later!)
- Hand Steamer: Perfect for straightening fibers or "resetting" a wig that’s been crushed in storage.

4. Preparing Your Canvas: Brushing and Detangling
Before you do any cutting or spiking, you have to prep.
The Golden Rule: Always start from the ends. Gently comb the very tips of the hair and work your way up to the roots. If you hit a knot, be patient! Use a little wig detangler or a DIY mix of water and fabric softener.
Pro Tip: Keep your materials visible! I love using translucent boxes for my extra wefts and styling clips. Being able to see exactly what you have makes the creative process so much smoother.
5. The Secret to Massive Volume: Crimping
Have you ever wondered how top-tier cosplayers get their wigs to look so thick and full? The secret isn't more hair—it’s Crimping.
By using a crimping iron on the bottom layers (the "inner" hair) of the wig, you create a tiny, jagged texture. This acts like a structural scaffold, pushing the top layers out and giving you incredible volume without adding the weight of extra wefts or material packs. It’s a game-changer for high ponytails and thick braids!
6. Advanced Techniques: Gradients and Lace Fronts
Custom Dyeing with Alcohol Inks
Can't find the perfect shade? You can dye synthetic wigs! I use a mix of 70% isopropyl alcohol and ink from Sharpies or Copic refills. You can spray it on for a subtle gradient or hand-paint it for deep roots. Just make sure you’re in a well-ventilated area!
The Magic of Lace Fronts
For characters with swept-back hair, a Lace Front Wig is essential. The hair is hand-tied into a sheer mesh that blends into your skin, creating a realistic hairline. It takes some practice to glue down properly, but the result is stunning.
7. Precision Cutting: Measure Twice, Cut Once!
Cutting synthetic hair is different from cutting real hair. It doesn't grow back, so "measure twice, cut once" is the mantra!
- Point Cutting: Never cut straight across! Hold your scissors vertically and snip into the ends. This creates a soft, natural look instead of a blunt "Lego hair" edge.
- The "Safety" Margin: Always leave the hair a little longer than you think you need. You can always trim more, but adding hair back involves glue and a lot of patience.
- The Human Factor: Mannequin heads are almost always smaller than actual human heads. Put the wig on yourself frequently to check the length in the mirror!

8. Defying Gravity: Mastering the Spike
Shonen heroes are known for their wild spikes. Here is my tried-and-true 3-step method:
- Sectioning: Map out your spikes with clips first.
- Teasing: Backcomb the base of the spike to create a solid foundation.
- Spray & Heat: Apply your freeze spray, then use a hair dryer on a low, cool setting to "flash-set" the fibers. This locks the shape in place instantly!

9. Maintenance: Keep Your Style Sharp
You’ve spent hours styling—now make it last through a whole convention weekend!
- Tangle-Proofing: Lightly spray the nape of long wigs with silicone spray to prevent matting against your costume.
- Storage: Store your styled masterpieces on mannequin heads. If you're short on space, use individual bins to keep them dust-free.
- Let it Go: If a wig is beyond saving, don’t hoard it! Donating old materials to local craft clubs—it clears your space and your mind for the next project.

10. DIY or Commission? The Big Question
Sometimes, a project is just too big, or you’re running out of time before a major convention. Choosing a professional cosplay wig commission is a fantastic way to get a competition-grade look without the stress. Professional stylists have years of specialized experience and the heavy-duty tools to create durable, high-impact styles. There's no shame in getting a little help on your journey!
11. FAQ: Your Top Wig Questions Answered
Q: Can I use heat on my synthetic wig?
A: Only if it's labeled "heat-resistant"! Most modern wigs can handle low heat, but always do a test on a small, hidden strand first.
Q: How do I remove the unrealistic "plastic shine"?
A: A little bit of dry shampoo or translucent setting powder works wonders to give it a natural, matte finish.
Q: My wig is too tight! Can I fix it?
A: Yes! You can carefully snip the elastic at the back and sew in a small extender piece to give yourself more room.
Q: How do I clean a wig that’s full of hairspray?
A: Soak it in lukewarm water with mild shampoo. Be gentle! You may need to re-style it slightly once it’s dry.
Q: How do I transport a big, styled wig to a convention?
A: Use a dedicated wig box and pin the mannequin head to the bottom. It’s worth the extra luggage space to arrive with your style intact!
Q: Can I use regular hair dye?
A: No! Synthetic fibers won't absorb regular dye. Use alcohol-based inks or specialized dyes like Rit DyeMore for synthetics.
Q: How do I keep a heavy wig from falling back?
A: Use wig grips and sew small combs into the front of the cap. They are lifesavers for long, heavy styles!
Q: How long does styling take?
A: It depends on the character! Simple trims might take 30 minutes, while complex sculpts can take 20+ hours. Enjoy the process!
Conclusion: Your Styling Journey Starts Now!
Crafting is a journey, and every failure is just a lesson in disguise. Every spike that falls over is teaching you more about your materials. My first attempts were a sticky mess, but they led me to where I am today—sharing my passion with you!
Thanks so much for reading! Now I’m super curious: What character’s hair has been your biggest styling challenge so far? Or are you currently planning your very first wig project? I would love to hear your stories in the comments!
Stay creative, and I'll see you at the next convention!