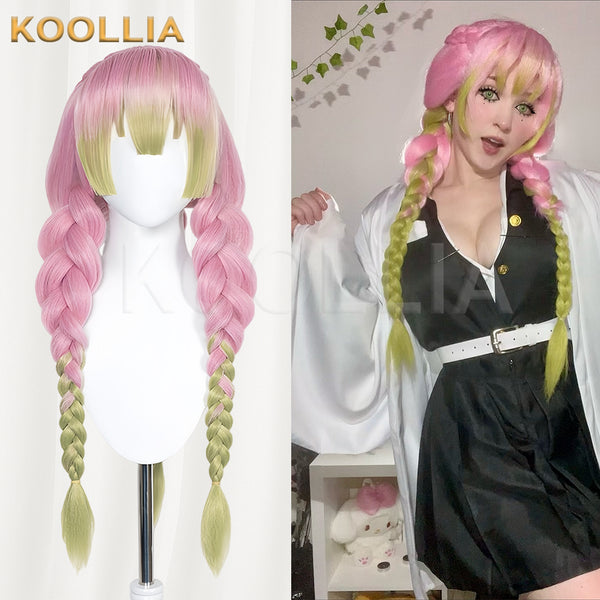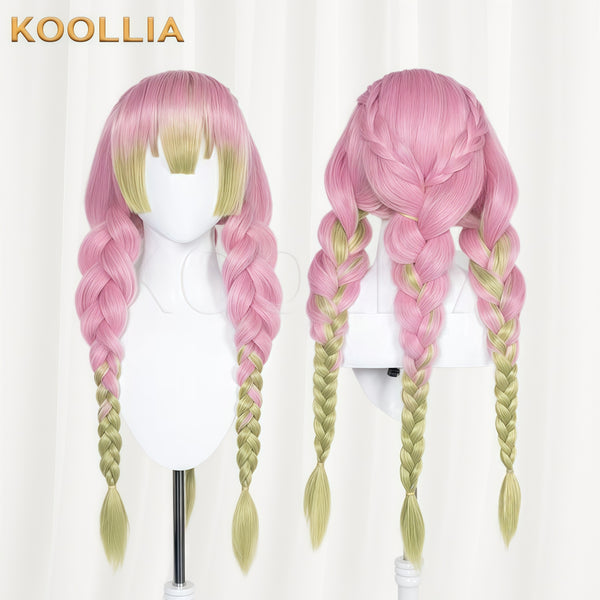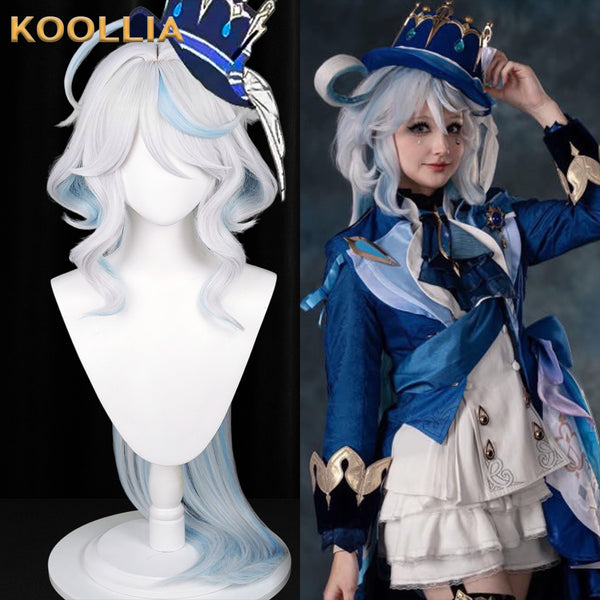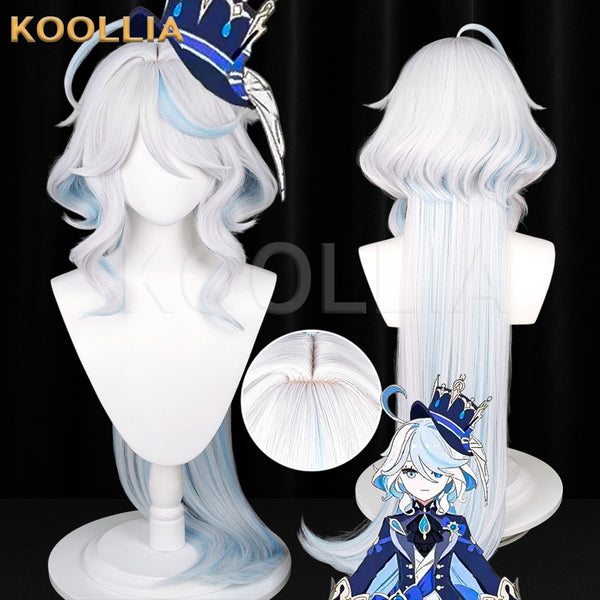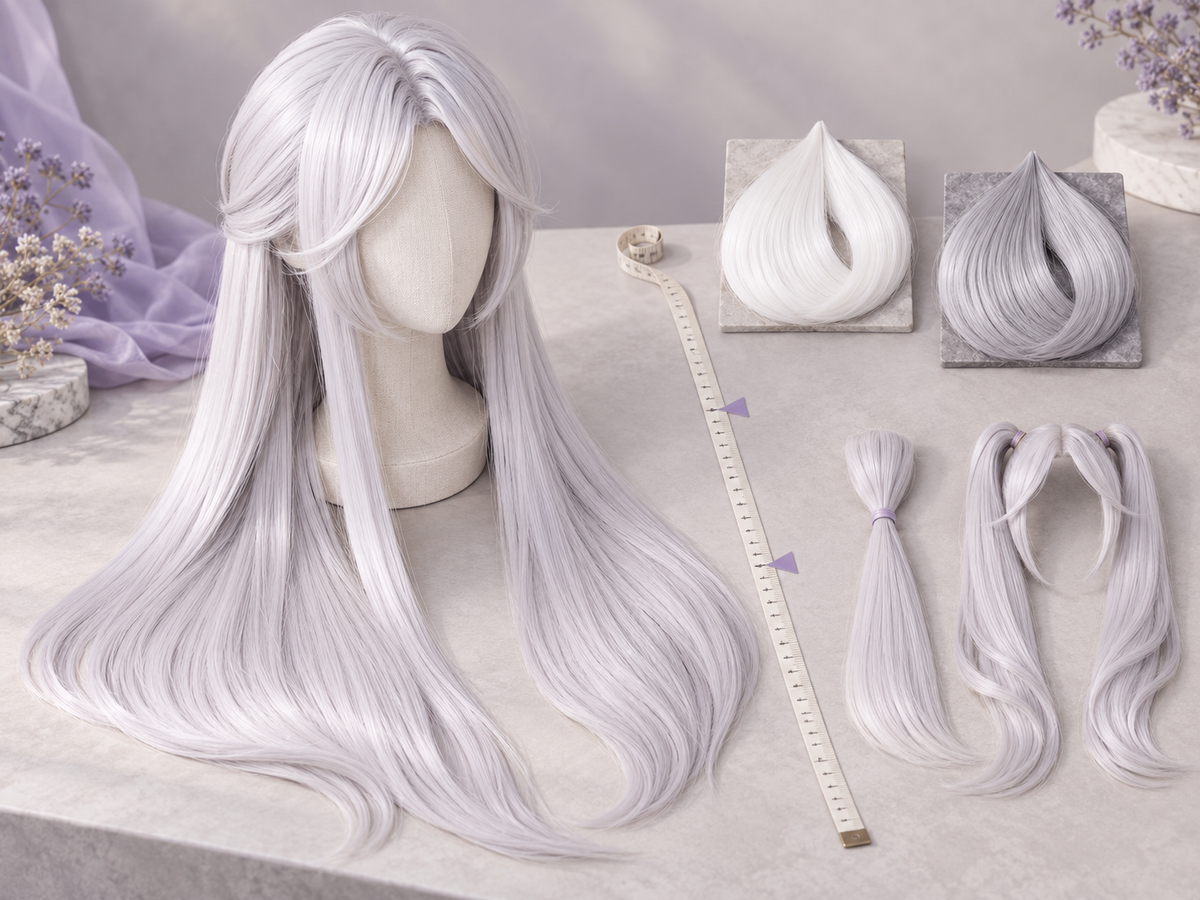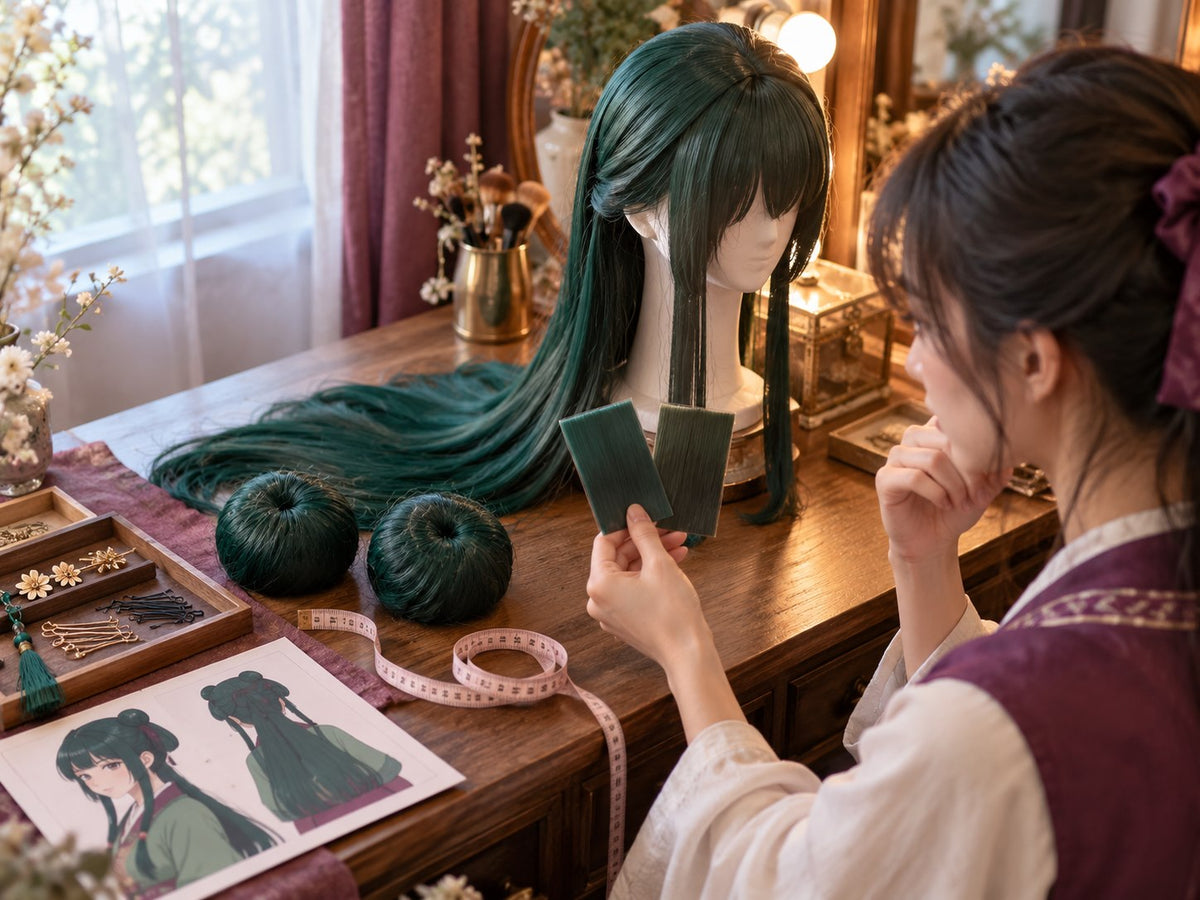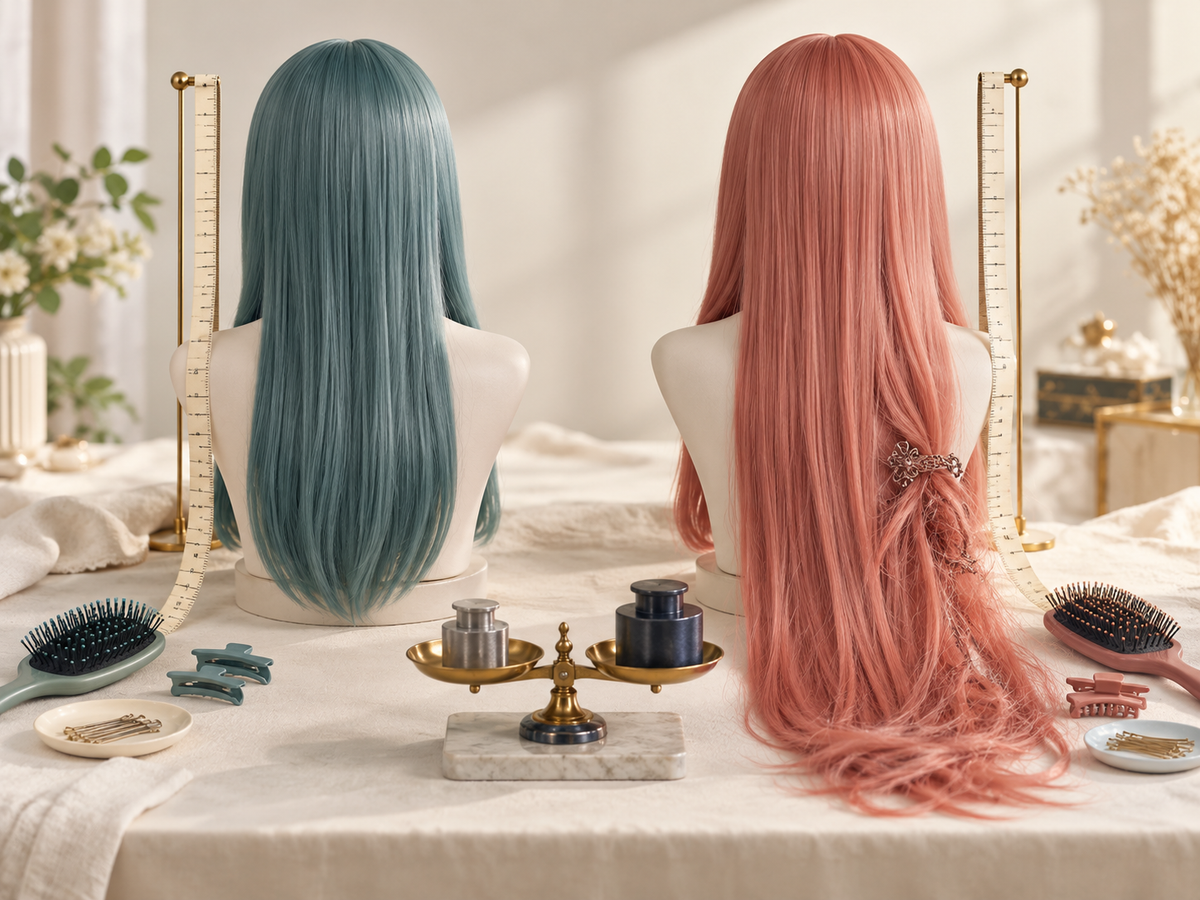

Layering and texturing a cosplay wig can turn thick, blunt fibers into a lighter shape with clearer movement. The process involves building hidden texture, separating the hair into manageable sections, thinning bulky ends, and directing each layer to match the character’s hairstyle.
This tutorial focuses specifically on crimping, sectioning, thinning, layering, and creating natural anime hair flow after the basic wig has been prepared.
💡 Quick Tip: If you still need help with the complete process, read our beginner guide to styling a cosplay wig first.
Step 1: Decide Your Texture & Crimp the Base (Cornrows/Waffle Crimp)
Before you turn on your crimper, ask yourself one crucial question: What kind of texture does this character have?
- Wet/Sleek Look: Skip crimping completely! You want smooth, flat fibers.
- Natural Hair Flow: Light crimping on internal layers for subtle lift.
- 3D/Sculpted "Game Model" Look: Thorough crimping from roots to mid-lengths for maximum volume and grip.
How to Crimp Without "Baking" or Frizzing the Fibers:
- Find the right heat: Check the wig manufacturer’s recommended heat limit, begin with the lowest practical setting, and test a hidden strand before crimping any visible section.
- Test a hidden strand: Always test a tiny strand at the back of the nape first. If it melts or curls oddly, lower the heat immediately.
- Work in small wefts: Take only 2 to 3 wefts (tracks) at a time. The width of your hair section should be narrower than your crimper plates so the heat distributes evenly.
Step 2: Smart Sectioning & Parting (The Secret to Hiding Wig Tracks!)
Clean sections make clean hair. If you try to cut everything at once, the wig will end up uneven and messy.
Pro Trick for Clean Sideburns:
When parting the sideburns, part a small strand diagonally over the top of the seam. This small diagonal overlay hides the exposed cap edge and makes the hairline look natural from every angle!
2 Easy Ways to Section Your Wig:
- Method A (All-in-One Front Block): Treat the entire front (bangs and face-framing sides) as one unified block, then work your way up layer by layer.
- Method B (Separate Zones): Pin the bangs, left sideburn, and right sideburn into three distinct sections, then divide each section from bottom to top.
Rule of thumb: Work in thin layers of about 2 to 3 wefts at a time. Never try to style a thick bundle all at once!
Step 3: Thinning & Layering (Say Goodbye to Chunky Ends!)
Most beginner wigs fail because of one thing: not enough thinning and zero progressive layers. When ends are too thick, they clump together and look like solid blocks.


The Golden Rules of Thinning Shears:
-
Blade orientation: Keep the flat (straight) blade on the bottom and the notched teeth on top when cutting.

-
Thin from the roots: Start thinning gently near the roots of the weft to reduce bulk, then lightly feather the tips vertically.

- Build a cascade of layers: The very first (bottom) layer should be the longest. Each layer you add above it should be slightly shorter than the one beneath it.
-
Cut little by little: Do not rush! It is much easier to make five small thinning cuts than to fix an over-cut bald spot.

Need reliable shears? Check out our professional tools in the KOOLLIA Wig Stylist Tools Collection.
Step 4: Directing the Hair Flow (Finding the Character's Anchor Points)
Now that your fibers are light and airy, it is time to shape them!
- Match character anchor points: Look at your reference sheet. Does the main lock curve left or flare outward? Find the key visual "anchors" (like signature bangs, ear points, or crown cowlicks).
- Do not stress 100% perfection: 2D anime hair defies gravity and physics. As long as the general direction, volume, and silhouette hit the character's key points, your wig will look recognizable and dynamic!
- Train your eye: Spend some time browsing master stylists' work. Developing your aesthetic sense for how synthetic fibers drape will dramatically improve your hands-on results.
Step 5: Setting with Hairspray (Layer by Layer)
Do not wait until the entire wig is finished before spraying! A strong hold comes from internal structure.
- Light mist per layer: Give each finished layer a quick, light mist of strong-hold hairspray before bringing down the next section.
- Full-head seal: Once the entire silhouette is complete, do one final sweep across the whole wig.
- Mind your distance: Hold the hairspray can about 15 to 20 cm (6 to 8 inches) away from the wig. Spraying too close causes wet dripping, sticky clumps, or white residue.
- Choose the right spray: Pick an extra-hold hairspray that dries crisp and rigid with minimal sticky scent.
Summary: The 5-Step Formula
To recap, here is your cheat sheet for styling anime hair flow:
Crimp for Texture ➔ Part & Hide Seams ➔ Thin & Step-Layer ➔ Shape Anchor Flow ➔ Mist & Set
Too Busy or Styling an Anti-Gravity Challenge?
If your dream character requires complex floating hair, hairline ventilating, or built-in wire structures, you do not have to stress over it alone.
Browse our ready-to-wear Base & Styled Anime Wigs or let our master stylists craft your bespoke design through KOOLLIA's Custom Cosplay Wig Commission Service!
Got your own favorite thinning or crimping hack? Drop your thoughts in the comments below—happy styling! 💖