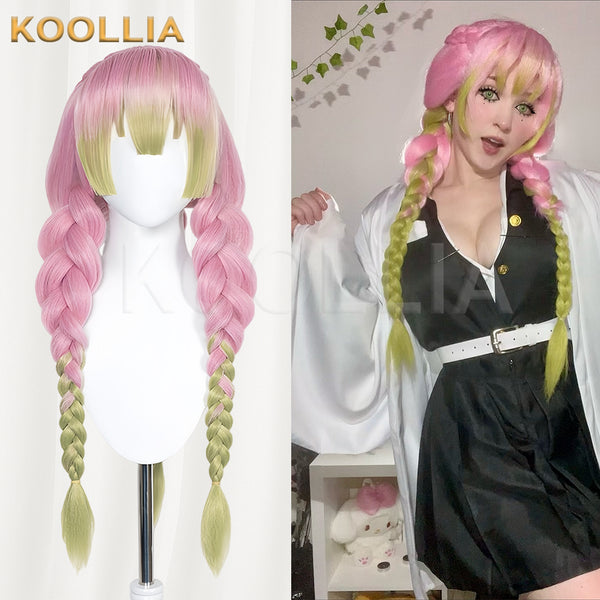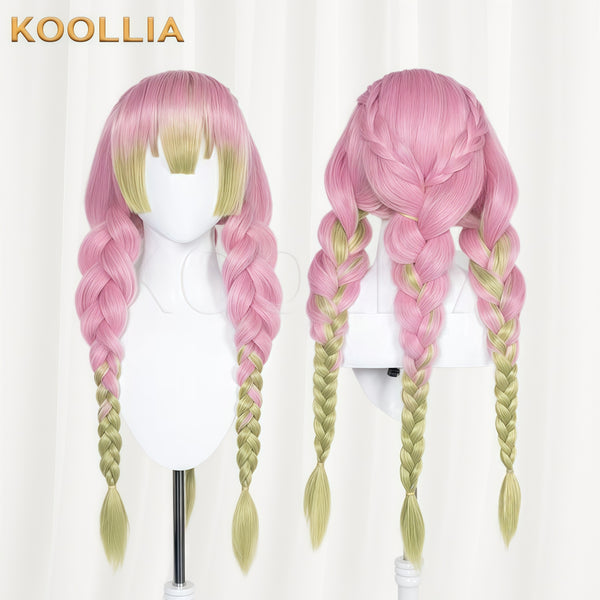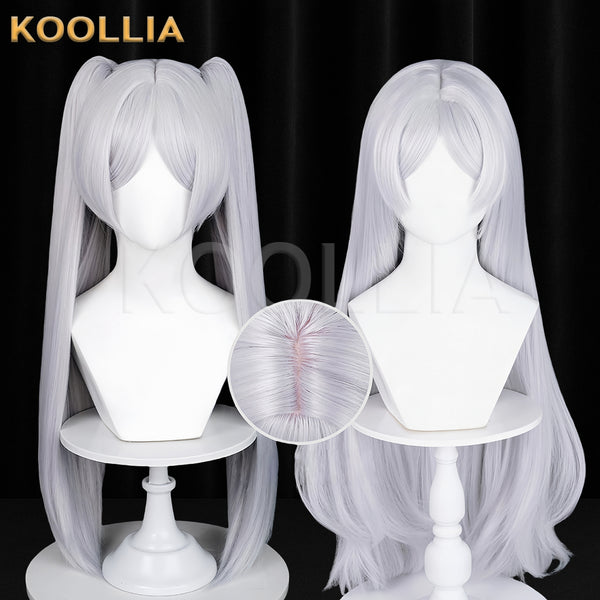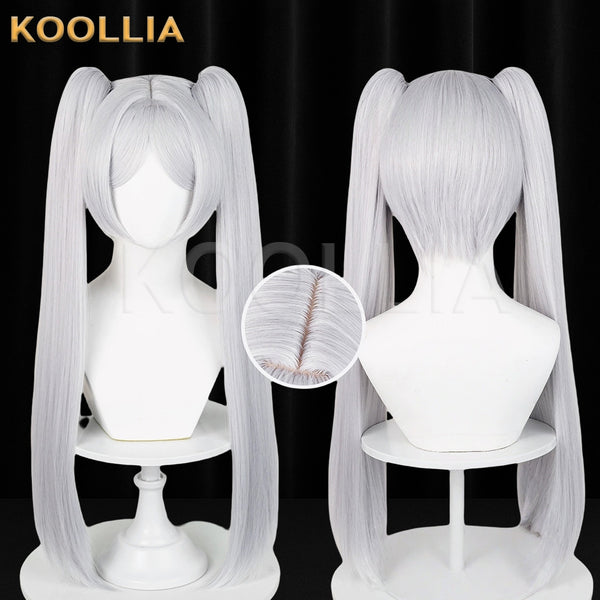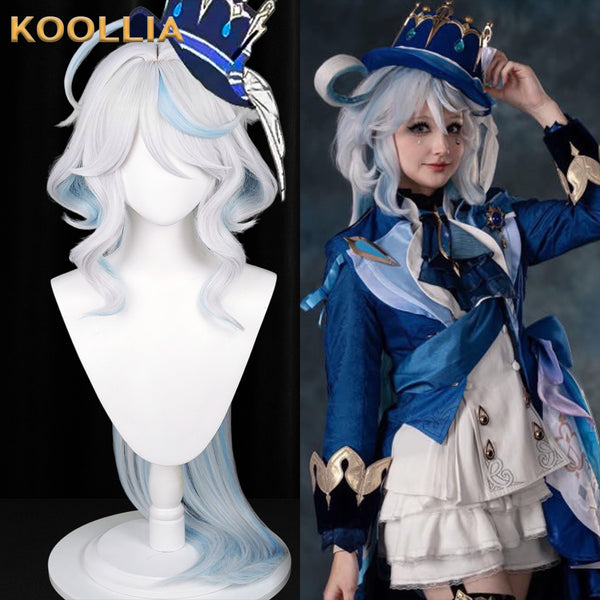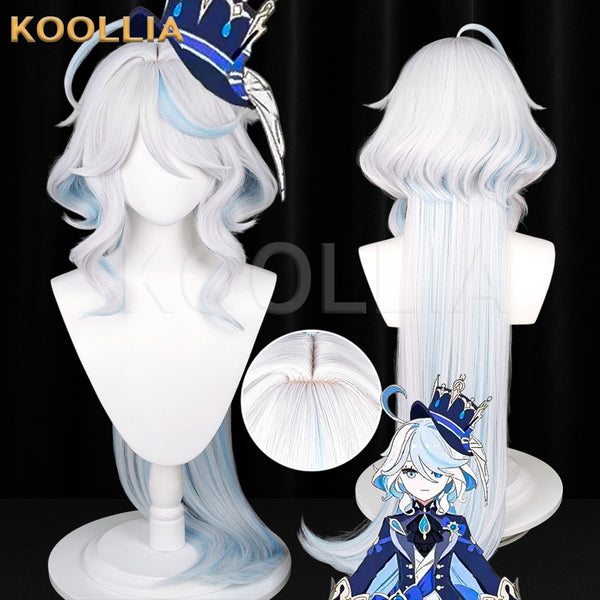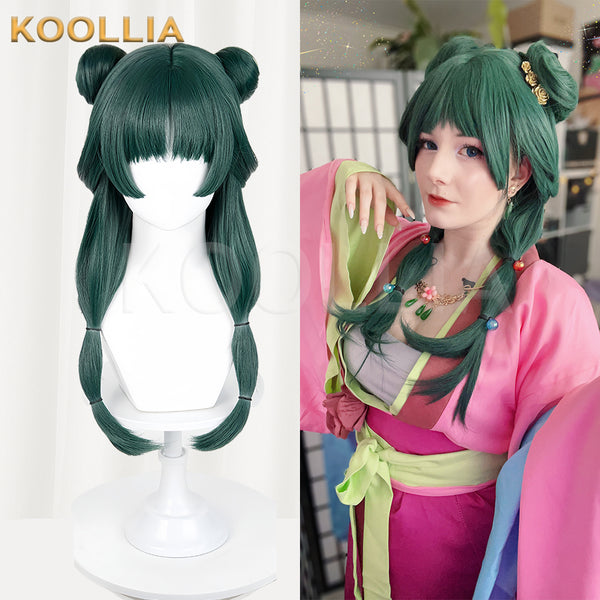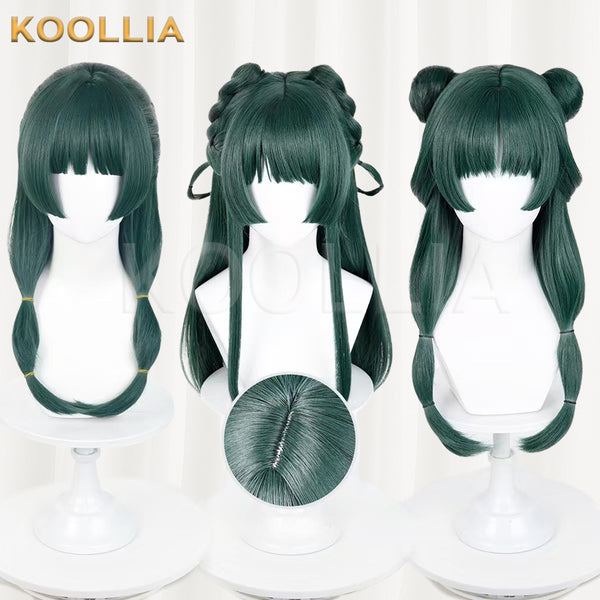

Learning how to crimp a wig can make a flat cosplay wig look fuller, stronger and easier to style. Crimping adds small bends to the fibers, creating internal texture without adding extra hair.
This technique is useful for fluffy layers, large braids, ponytails, spikes and other anime hairstyles that need more volume. The key is to work on heat-resistant fibers, begin with a low setting and test a hidden section before crimping the full wig.
What Does Wig Crimping Do?
Wig crimping creates a series of small waves in synthetic fibers. These waves take up more space than straight fibers, so the wig looks thicker and holds its shape more easily.
A crimped wig can provide:
- More volume around the roots
- Better support for spikes and fluffy layers
- Thicker-looking ponytails and braids
- More grip when teasing or shaping fibers
- Extra structure without adding many new wefts
Crimping does not need to be visible in the finished hairstyle. Many wig stylists crimp only the inner layers and leave the top layer smooth.
Why Do Wig Stylists Crimp Wigs?
One common question is why crimp wigs instead of simply using hairspray or teasing the fibers.
Hairspray helps hold a finished shape, but it does not always create enough internal volume. Heavy teasing can add volume, but it may also create knots and make the wig harder to restyle.
Crimping adds texture throughout the fibers. This gives the hairstyle a stronger base before cutting, teasing, spraying or shaping begins.
It is especially helpful for:
- Spiky anime wigs
- Large character bangs
- Fluffy short hairstyles
- Thick braids
- High-volume ponytails
- Anti-gravity hairstyles
- Styles that need a wider silhouette
What You Need to Crimp a Wig
Prepare the following items before you begin:
- A heat-resistant synthetic wig
- A wig stand and mannequin head
- A stable stand clamp
- A wig brush or wide-tooth comb
- Sectioning clips
- A heat-resistant glove
- A hair crimper with adjustable heat settings
- Hairspray, if needed after shaping
An adjustable wig crimper gives you more control when working with different synthetic fibers. A wide plate can also process larger sections more efficiently.
Important Heat Safety Before Crimping
Do not assume that every synthetic wig can be heated. Check the product information before using a crimper, flat iron or curling iron.
Even when a wig is labeled heat-resistant, different fibers may respond differently. Always follow these precautions:
- Begin with the lowest available heat setting.
- Test a small section underneath the wig.
- Press briefly instead of holding the plates in one place.
- Stop if the fibers become sticky, rough, shiny or misshapen.
- Keep the hot plates away from lace, the wig cap and exposed elastic.
- Allow the fibers to cool before brushing or shaping them.
If you use the KOOLLIA crimper, check your local voltage before ordering. The appliance is rated for 220V, and a plug adapter does not convert voltage.
How to Crimp a Wig Step by Step
Step 1: Secure the Wig
Place the wig on a mannequin head and secure the head to a stable stand. Add pins only in safe areas of the wig cap. Avoid pushing pins through delicate lace.
The wig should stay still while you work, but it should not be stretched out of shape.
Step 2: Detangle the Fibers
Gently remove knots before applying heat. Start at the ends and work upward toward the roots.
Do not pull hard on tangled sections. Crimping over knots can make them tighter and harder to remove later.
Step 3: Perform a Hidden Heat Test
Select a small section from the back or underneath the wig. Set the crimper to its lowest heat level and press the fibers briefly.
Let the section cool, then check it carefully. The fibers should hold the crimped texture without melting, sticking together or becoming rough.
If the test section is damaged, do not continue.
Step 4: Divide the Wig into Sections
Separate the wig into manageable layers using clips. Begin with the lowest inner layer and move upward.
Use small, even sections. Thick sections may heat unevenly and produce weak crimp lines.
Step 5: Crimp the Inner Layers
Place one section between the plates. Keep the tool away from the cap, lace and exposed wefts.
Press briefly, release and move down the fibers. Continue until the required part of the section has been crimped.
Do not repeatedly press the same area while it is still hot. Let it cool before deciding whether it needs another pass.
Step 6: Let Each Section Cool
Synthetic fibers often set as they cool. Keep the section in its intended position and wait before brushing, teasing or stretching it.
Handling the fibers immediately may weaken the texture you just created.
Step 7: Continue Through the Wig
Repeat the same process on the remaining inner layers. Check the volume as you work instead of automatically crimping every strand.
You may need stronger crimping in areas that support spikes, ponytails or large bangs. Other areas may need only a small amount of texture.
Step 8: Leave the Top Layer Smoother
If you do not want visible crimp lines, leave the outermost layer straight. Use this smooth layer to cover the crimped fibers underneath.
For intentionally textured styles, you can lightly crimp selected outer sections. Keep the pattern controlled so the wig does not look uneven.
Step 9: Shape the Final Hairstyle
Once the fibers are completely cool, use your fingers, comb or brush to shape the volume.
You can now:
- Tease the roots gently
- Separate and shape spikes
- Build fluffy layers
- Create a thicker ponytail
- Form a fuller braid
- Trim the wig into its final silhouette
Add hairspray only after you are satisfied with the shape. For more general techniques, read our guide to styling a cosplay wig.
How to Crimp Hair for Root Volume
If you want volume without visible texture, focus on the inner fibers close to the roots.
- Lift the smooth top layer and clip it out of the way.
- Take a thin section from the inner layer.
- Crimp near the root while staying safely away from the wig cap.
- Allow the section to cool.
- Place the smooth top layer back over it.
This method creates hidden support and helps prevent the finished style from looking flat.
How to Use Crimping for Cosplay Wig Spikes
Crimping can make spike sections appear fuller and give the fibers more grip.
Crimp the inner fibers before separating the wig into spikes. Leave a thin smooth layer on the outside of each section if you want a clean finish.
After crimping:
- Separate the fibers into the required spike sections.
- Tease lightly near the base if more support is needed.
- Shape each section with your fingers.
- Trim the ends carefully.
- Apply a suitable holding product.
- Let each spike dry before moving to the next one.
How to Use Crimping for Braids and Ponytails
Crimping can make a braid or ponytail look thicker without adding as many extra wefts.
For braids, crimp the inner sections, let them cool and brush them gently before braiding. Avoid heavy teasing because tangled fibers are difficult to divide evenly.
For ponytails, focus on the fibers that need more width and shape. Keep the visible surface smooth unless the character design includes obvious texture.
Common Wig Crimping Mistakes
Using Too Much Heat
Higher heat does not always create a better result. It increases the risk of melting, roughness and permanent fiber damage. Start low and increase only when necessary.
Skipping the Heat Test
Two synthetic wigs can react differently to the same temperature. Always test a hidden section, even if you have used the tool successfully on another wig.
Holding the Plates Too Long
A long press can flatten or damage the fibers. Use short presses and inspect the result after cooling.
Crimping Sections That Are Too Thick
Thick sections may crimp only on the outside. Use smaller sections for more even texture.
Crimping Every Visible Fiber
Full crimping can make the finished wig look rough when the character has smooth hair. Build volume underneath and preserve a smooth outer layer.
Brushing While the Fibers Are Hot
Brushing too early can stretch out the texture or damage softened fibers. Wait until each section is cool.
Crimping Too Close to the Wig Cap
Hot plates can damage lace, elastic, stitching and the wig cap. Keep a safe distance from the base.
Should You Crimp a Wig Before or After Cutting?
In most cases, create the main volume before completing the final haircut. Crimping changes the way the fibers sit and can make the wig appear shorter or fuller.
A practical order is:
- Detangle the wig.
- Crimp the required inner sections.
- Build the main volume.
- Cut the overall silhouette.
- Shape the bangs, spikes or layers.
- Complete the final trim and hold.
You can still add small areas of crimping later if a section needs more support.
Wig Crimping FAQ
Can you crimp a synthetic wig?
Yes, but only when the fibers are confirmed to be heat-resistant. Begin with the lowest heat setting and test a hidden section first.
Does crimping damage a wig?
Crimping can damage fibers if the temperature is too high, the plates are held too long or the wig is not heat-resistant. Careful heat testing reduces the risk.
Does crimping make a wig look thicker?
Yes. The small bends add internal texture and make the fibers take up more space. This creates the appearance of greater density and volume.
Should crimp lines be visible?
Not necessarily. For a smooth character hairstyle, crimp the inner layers and leave the outer layer straight. Visible crimping works better for intentionally textured styles.
Can I crimp a wig without a wig crimper?
Some stylists use braiding and controlled heat to create texture, but the results may be slower and less even. A crimper gives more consistent lines and better control.
Can beginners crimp wigs?
Yes. Beginners should work slowly, use low heat, divide the wig into small sections and practice on a hidden area before styling the visible layers.
Create More Volume in Your Cosplay Wig
A good crimping technique can turn a flat base wig into a fuller foundation for spikes, braids, ponytails and fluffy anime hairstyles.
Always confirm the fiber’s heat resistance, test the lowest setting and let each section cool before shaping it.
Ready to try wig crimping? View the KOOLLIA Wig Crimper for Volume and Texture or explore more wig styling tools and materials.