Creating a Rapunzel cosplay wig can seem like a daunting task for any cosplayer. The sheer volume, the extreme length, and the iconic floral details require careful planning. Recently, talented cosplayer Roxie shared an absolutely brilliant method for building a lightweight, glowing braid using a high-quality base. If you want to achieve that magical princess look without breaking your neck from the weight of heavy synthetic hair, you are in the right place.
In this easy step-by-step guide, we will break down Roxie's genius process. You will learn how to transform standard materials into a breathtaking DIY Rapunzel braided wig that will steal the show at your next convention — whether it's a Halloween party, a cosplay event, or a Comic-Con gathering.
Why a Lightweight Rapunzel Cosplay Wig Beats Heavy Store-Bought Wigs
Many beginners make the mistake of trying to braid multiple long wigs together. This results in a heavy, unmanageable mess that pulls on your scalp and causes massive headaches. By building a custom Tangled-style Rapunzel braid using a stuffed fabric core, you drastically reduce the weight. This hollow structure gives you maximum volume with minimal discomfort — perfect for wearing all day at a convention.
Plus, creating it yourself allows you to customize the length, the flower arrangements, and the lighting exactly to your liking. It is a rewarding project that elevates your cosplay craftsmanship, whether you are a beginner learning how to make a Rapunzel wig for the first time or an experienced costume maker.
Essential Materials for Your Tangled Rapunzel Wig Build
Before you begin, gather your supplies. Having the right foundation is crucial for a successful Rapunzel wig tutorial build.
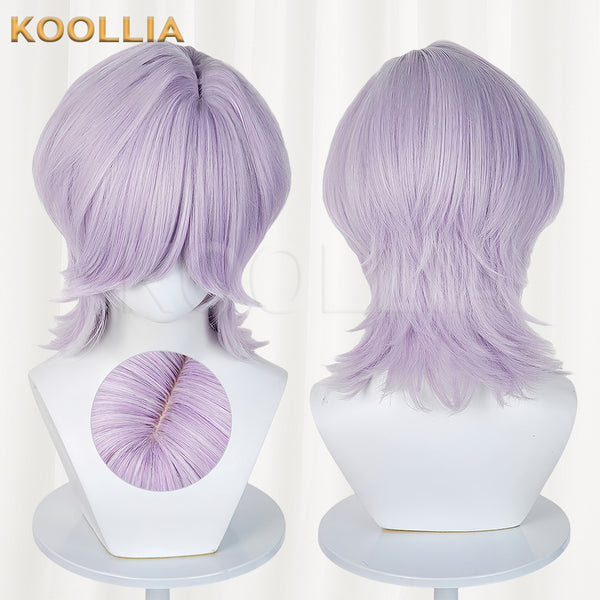
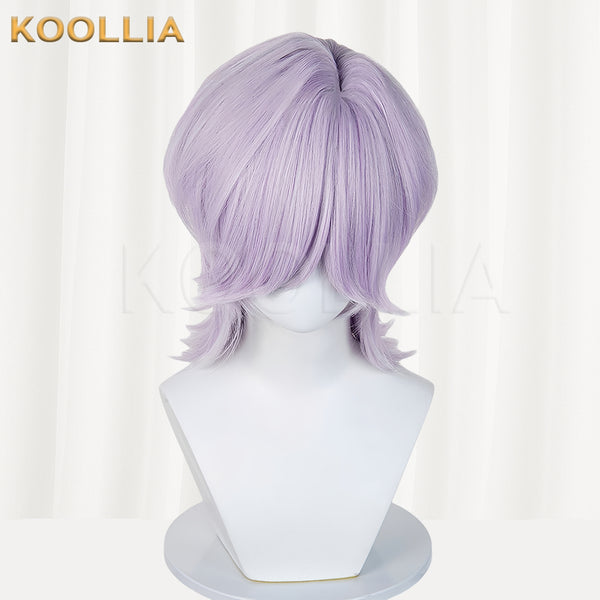
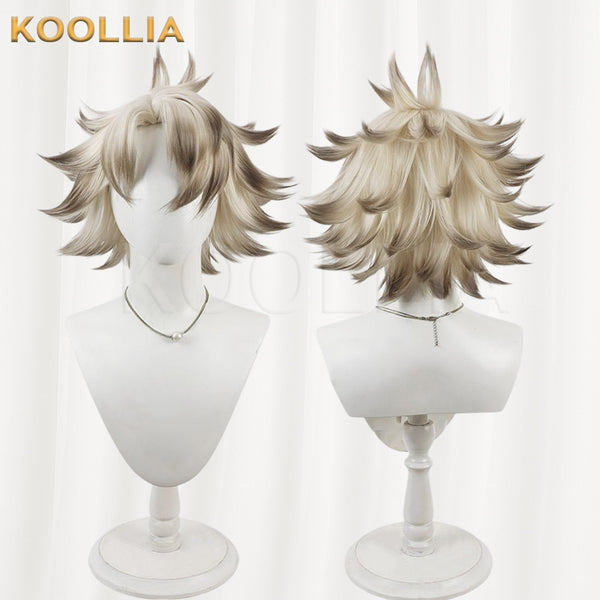
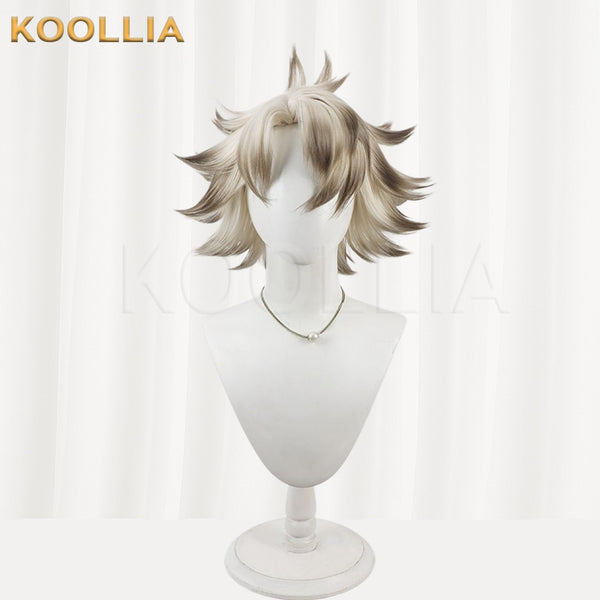
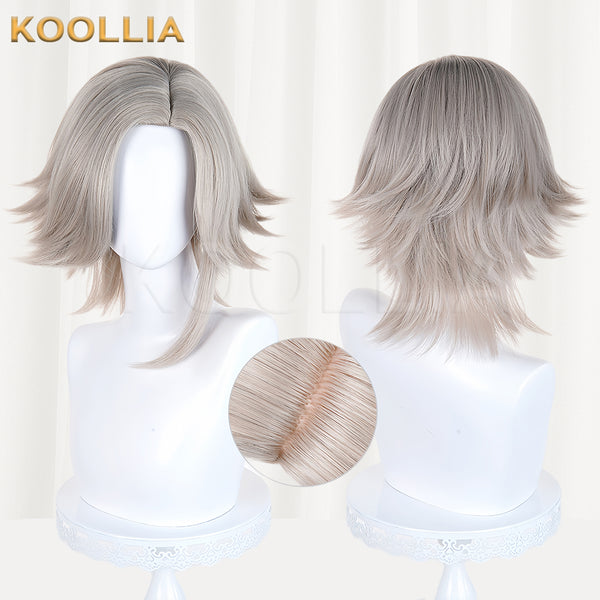
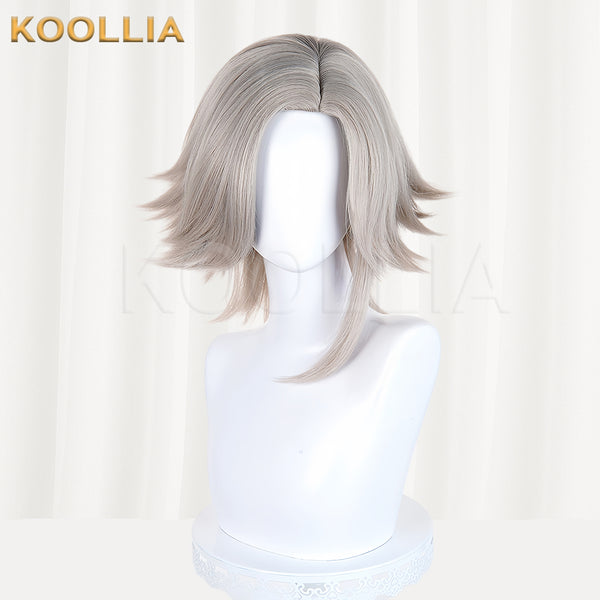
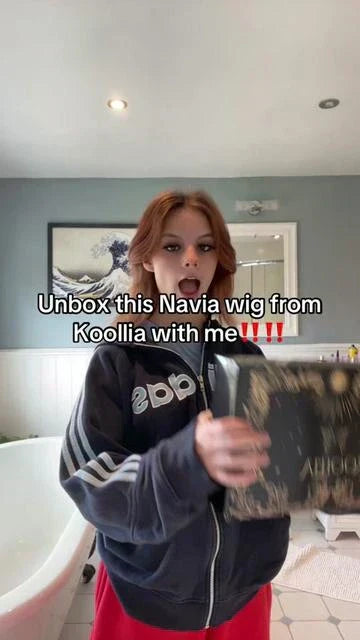
- Base Wig: A high-quality, long blonde wig. Roxie uses an unstyled base from Koollia's basic wig collection — an affordable wig foundation that gives you a solid starting point.
- Extra Hair: Long blonde cosplay wefts (often harvested from a second identical wig).
- Tights: 3 pairs of honey beige opaque tights (control-top works well).
- Stuffing: Premium polyester fiber fill (Poly-fil) — the key to a lightweight Rapunzel braid.
- Tools: Sewing machine, scissors, seam ripper, hot glue gun, and a hair crimper. Discover handy tools in the DIY cosplay accessories section.
- Decorations: Yellow tulle netting, battery-operated fairy lights, and assorted artificial flowers.
- Hardware: Heavy-duty sew-on snaps for an easy snap-on, snap-off attachment.

7 Easy Steps to Build Your Rapunzel Cosplay Wig (Tangled-Style)
Step 1: Prepping the Base Structure
To start your DIY Rapunzel wig, take your beige tights and cut off the excess fabric, leaving just the long leg sections. You will need three long leg pieces to form the three strands of your Tangled braid. Use your sewing machine to sew each leg into a long, closed tube, leaving only the very top open so you can insert the stuffing. This simple prep work sets the foundation for a headache-free, lightweight cosplay wig prop.
Step 2: Stuffing the Braid
Take your Poly-fil and begin stuffing each tube. You want to create three large, fluffy "worms." Make sure to pack the stuffing evenly so there are no strange lumps. Once all three tubes are stuffed, you have a lightweight, thick base that will give your Tangled Rapunzel wig its massive signature volume — without the weight of solid hair.

Step 3: Forming the Main Braid
Secure the tops of the three stuffed tubes together. Carefully braid them down to the bottom, just like you would with normal hair. Tie off the bottom securely. You now have the skeleton of your Rapunzel wig braid ready to be covered. This is the moment where your easy cosplay wig for beginners project starts looking like the real thing.
Step 4: Crimping and Deconstructing the Wig
Take your extra long blonde cosplay wig and run a hair crimper through the lengths. Crimping adds massive texture and volume, which is essential when trying to cover a large surface area. Once crimped, use a seam ripper to painstakingly remove all the wefts from the wig cap. This takes time, but it yields the loose hair tracks you need for the next step of this Rapunzel cosplay tutorial.

Step 5: Applying Hair and Tulle
Using a hot glue gun, carefully attach the crimped hair wefts to your stuffed fabric braid. Wrap the hair around the "worms" to hide the beige tights completely. Because loose hair can get messy on a giant prop, Roxie uses a brilliant trick: wrap yellow tulle netting around each section of the braid. This holds the hair flat against the base, prevents tangling, and is nearly invisible from a distance — a genius hack that keeps your long braided cosplay wig looking pristine all day.

Step 6: Adding Magical Details — Flowers and Fairy Lights
No Rapunzel wig with flowers and lights is complete without the magic! Weave a string of battery-operated fairy lights throughout the braid. Hide the small battery pack near the top where it will sit behind your neck. Finally, hot glue an abundance of colorful artificial flowers all over the braid. Don't hold back — the flowers hide any imperfections in the tulle or hair wrapping, giving you a stunning fairy tale princess cosplay wig that glows.

Step 7: Attaching the Rapunzel Wig Braid
To make the wig easy to transport and wear, sew heavy-duty snaps to the top flat section of your giant braid. Sew the corresponding snap pieces to the back base of your styled Koollia wig. This allows you to snap the heavy braid on and off whenever you need a break — a must-have feature for any convention cosplay wig that needs to survive a long day. No more struggling in the restroom to take off your entire costume!

Pro Tips to Perfect Your DIY Rapunzel Cosplay Braid
Always build your braid separately from the wig on your head. This prevents stretching the wig cap and keeps your Rapunzel wig tutorial project easy to maintain. If you need extra materials for your cosplay crafting, check out the materials pack collection to keep your workspace stocked.
When styling the front of the base wig, use strong-hold hairspray and a hairdryer to get those iconic swooping bangs to stay in place. Pro cosplayers like Roxie swear by this method for a flawless princess cosplay wig look that photographs beautifully from every angle.
FAQ
How heavy is this Rapunzel cosplay wig?
Because the core is made of hollow tights and Poly-fil rather than solid synthetic hair, it is incredibly lightweight and comfortable to wear for a full convention day. Many cosplayers report zero neck strain even after 8+ hours — a game-changer compared to store-bought Rapunzel Halloween costume wigs that feel like bricks.
Can I wash this wig?
You cannot wash the main braid once the lights, tulle, and glued hair are attached. You can gently spot-clean the base wig if you detach it from the braid — another reason the snap-on design is so practical for a convention-friendly cosplay wig.
Where can I find a good base wig for this tutorial?
Using a high-quality, dense wig foundation is essential. You can find excellent affordable options in the all-purpose wig collection at Koollia, which offers unstyled bases perfect for a long blonde cosplay wig project like this one.
Is this Rapunzel wig tutorial suitable for beginners?
Absolutely. This is one of the most beginner-friendly cosplay wig projects you can tackle. The stuffed-tube method removes the hardest part (managing real hair volume), and the tulle-and-flower finishing technique is forgiving — any imperfections get beautifully hidden under the decorations.
Can I use this method for other fairy tale princess wigs?
Yes! The stuffed fabric core technique works for any long braided cosplay wig — think Elsa, classic fairy tale characters, or even original designs. Once you master this easy cosplay wig tutorial, you can adapt it to countless characters.
References:
- Roxie's Original Tangled Rapunzel Cosplay Wig Tutorial Video
- Wikipedia: Cosplay Crafting and History
- Koollia Official Store — Affordable Cosplay Wigs & Accessories
- @roxieroadz — Follow Roxie for more cosplay tutorials