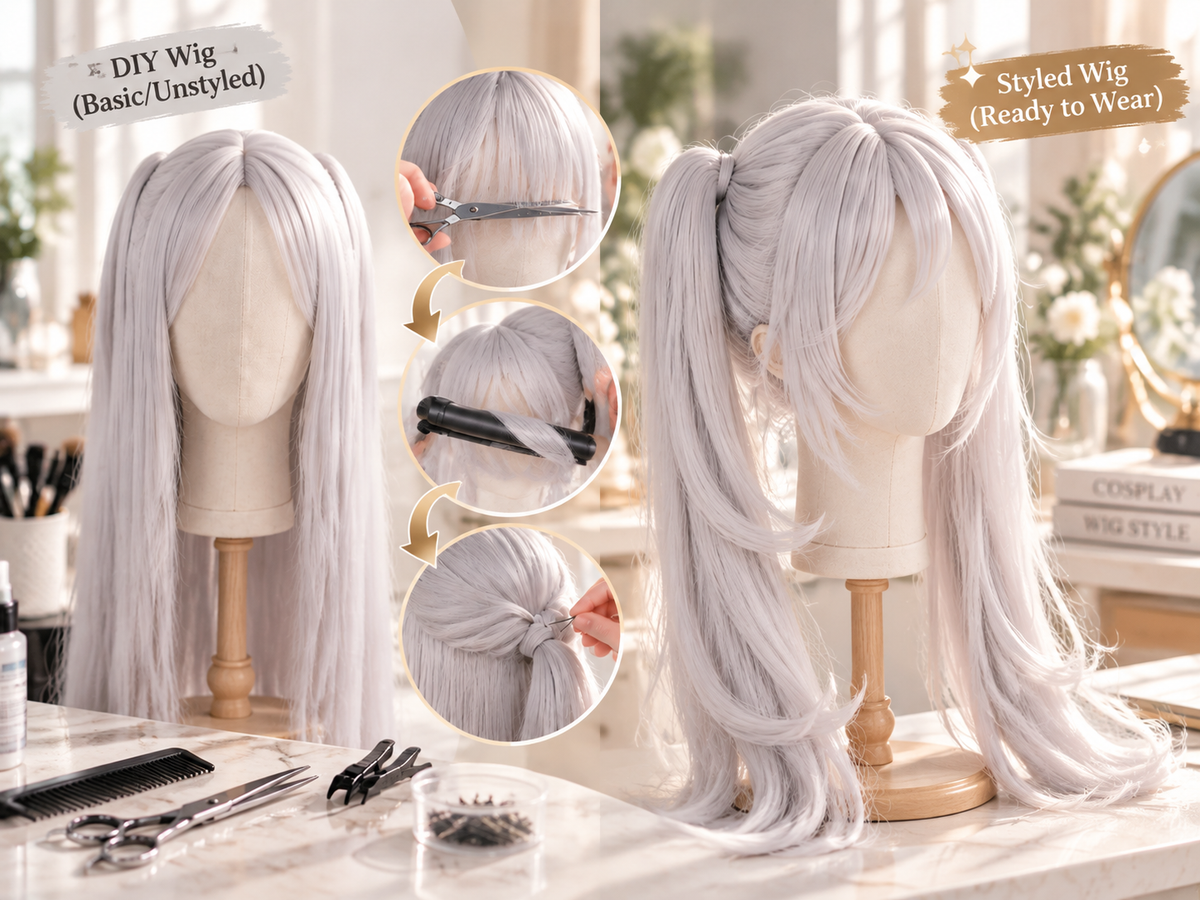

DIY wig making becomes much easier when you stop trying to learn everything in one weekend. You do not need a large kit, an expensive course, or an ambitious character design to begin. You need a clear reference, a suitable practice wig, a few dependable tools, and enough time to repeat the basics.
This roadmap separates the skills that beginners often mix together: choosing a base, controlling synthetic fiber, cutting a shape, adding volume, securing the style, and judging when formal instruction would actually help. Use it to plan a first project without turning the process into a shopping spree.

DIY Wig Step 1: Choose One Skill to Learn
A first project should teach one main skill. A short spiky style can teach teasing and directional shaping. A bob can teach sectioning and careful trimming. A ponytail can teach balance and attachment. Trying to learn all three at once makes it hard to see what went wrong.
Start with front, side, and back references of the same version of the character. Then write one sentence describing the shape you want. For example: “short layers that rise at the crown and taper around the face.” That sentence becomes your decision filter whenever the tutorial, reference image, and wig seem to disagree.
DIY Wig Step 2: Begin with the Right Base
Before cutting, compare the base wig with the finished silhouette. Check its length, density, parting, hairline, and fiber type. Extra length can be removed, but missing density is harder to correct. A dramatically wrong parting can also create more work than a beginner expects.
If you are unsure whether an unstyled base is realistic for your schedule, compare the practical differences between basic, pre-styled, and commission wigs. The best choice is not always the most advanced one. It is the option that leaves you enough time to practise and still finish before the event.
DIY Wig Step 3: Build a Small Working Kit
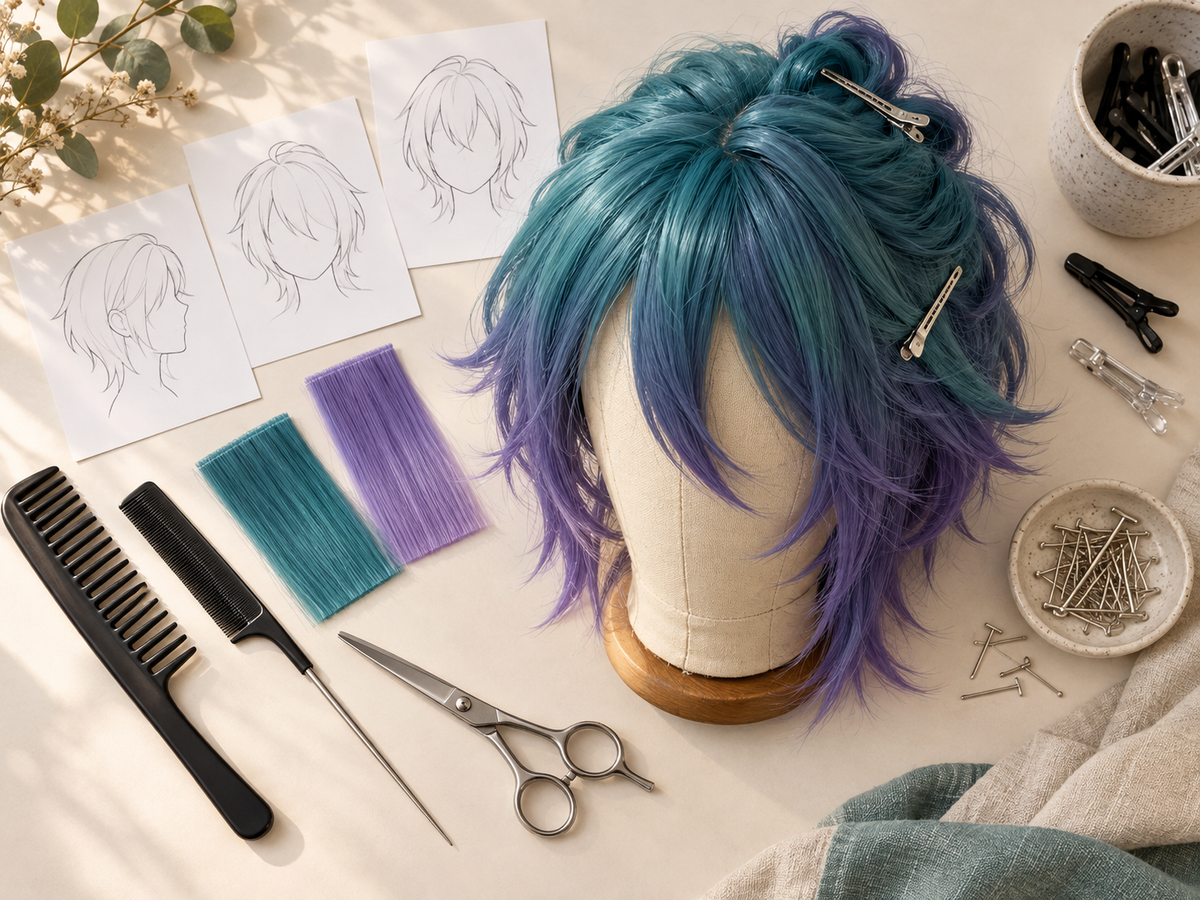
A useful beginner kit is simple: a stable wig head, a stand, T-pins, a wide-tooth comb, a tail comb, sharp hair-cutting scissors, clips, and a styling product suited to wigs. Add heat tools only after confirming that the fiber can tolerate them.
Formal wig-making classes use broader kits because they teach construction as well as styling. An Austin Community College course, for example, lists combs, picks, pins, needles, shears, synthetic wefts, and ventilation tools. That is a helpful picture of the full craft, but it is not a required shopping list for your first cosplay project.
Buy materials when a design calls for them. If a project needs a colored streak, added thickness, or a small custom section, loose synthetic wig hair for color mixing and DIY styling may be more practical than purchasing a second complete wig.
DIY Wig Step 4: Practise in the Right Order
Good wig making is less about memorising tricks and more about controlling the order of work. Begin by securing the wig and marking the intended length. Detangle from the ends upward, divide the hair into clear sections, and cut less than you think you need. You can always shorten another few millimetres.
- Pin the wig securely and check that it sits straight.
- Mark the main silhouette before making detail cuts.
- Test heat and products on a hidden section.
- Build internal volume before polishing the surface.
- Try the wig on before final trimming around the face.
For a fuller breakdown of cutting, heat testing, structure, and finishing, use these beginner cosplay wig styling steps alongside this learning plan.
DIY Wig Step 5: Treat Heat as a Material Test
“Synthetic” does not describe one universal fiber. Heat resistance varies, so check the product information first and test a small hidden strand at a low setting. Stop if the fiber becomes rough, shrinks, changes shine, or develops an unwanted bend.
Educational guidance from Penn Medicine makes the same distinction: some synthetic wigs tolerate styling tools, while others do not. Work in short passes, keep tools moving, and let the fiber cool before judging the shape. More heat is not a shortcut to better control.
DIY Wig Step 6: Decide Whether a Course Is Worth It
Wig making courses become valuable when feedback matters more than another tutorial. If you cannot diagnose uneven cutting, weak structure, visible attachments, or poor fit, an instructor can shorten the trial-and-error cycle.
However, read the syllabus before paying. Professional programs may focus on lace ventilation, facial hair, historical styling, theatre fittings, or human-hair work. DePaul University’s continuing education class, for example, covers pattern making, lace, hair choice, wig design, stage hair, and ventilation. That is excellent training, but it is much broader than styling a ready-made cosplay base.
When Online Wig Making Courses Make Sense
Online wig making courses work well when lessons are clearly sequenced, demonstrations can be replayed, and the instructor explains materials rather than only showing a finished reveal. Look for assignments, close camera angles, troubleshooting, and some way to receive feedback.
An online class is less useful when the curriculum is vague or depends on tools you do not own. Before enrolling, ask what type of wig the course uses, whether it covers synthetic fiber, and what finished project students are expected to complete.
When “Wig Making Courses Near Me” Is the Better Search
Searching for wig making courses near me makes sense when you want hands-on help with fitting, ventilation, sewing, or tool control. In-person teaching can also provide access to materials that would be expensive to buy for one experiment.
Check colleges, theatre departments, costume programs, continuing education schools, and local production studios. A legitimate course should name its instructor, learning outcomes, materials, schedule, and cancellation terms. Avoid choosing only from dramatic before-and-after images.
DIY Wig Step 7: Finish One Small Project
The most useful first project is one you can finish, photograph, wear, and review. Take pictures from the front, both sides, and back. Note what held its shape, what felt uncomfortable, and what took longer than expected. Those notes will tell you what to learn next.
Professional construction can be extremely detailed. The University of Michigan describes hand-tied theatrical wigs that may take 40 to 80 hours to build. That level of work is not a sensible benchmark for a first DIY wig. Your goal is a controlled improvement, not an invisible hairline on day one.
A Simple Four-Week DIY Wig Learning Plan
| Week | Focus | Small outcome |
|---|---|---|
| 1 | References, fiber checks, sectioning | A marked practice wig with no major cuts |
| 2 | Conservative cutting and face framing | A clean basic silhouette |
| 3 | Volume, direction, and heat testing | One stable feature such as a crown or spike group |
| 4 | Finishing, try-on, and photographs | A wearable result plus notes for the next project |
This schedule is intentionally modest. If one step needs another week, take it. Rushing teaches you how to hide mistakes; repetition teaches you how to prevent them.
DIY Wig FAQ
Can a complete beginner make a cosplay wig?
Yes. Begin with an unstyled base that already has roughly the right color, length, and density. Choose one main technique and avoid a design that requires advanced lace work, hidden structures, and multiple attachments at the same time.
Do I need a professional wig making course?
Not for a simple first project. Free tutorials and careful practice can teach basic sectioning, cutting, and shaping. A structured course becomes more useful when you want feedback, theatre skills, lace ventilation, fitting, or professional construction methods.
Are online wig making courses enough?
They can be enough for technique demonstrations and beginner projects. Choose a course with a clear syllabus, close-up instruction, material explanations, troubleshooting, and feedback. Hands-on classes are stronger for fitting and detailed ventilation work.
What should I practise before using an expensive wig?
Practise sectioning, small cuts, teasing, smoothing, pin placement, and low-temperature tests on spare fiber or an inexpensive practice wig. Keep the final character wig untouched until your hands are comfortable with the tools.
Final Takeaway
A successful DIY wig starts with a manageable learning goal. Choose the right base, build a small kit, practise in sequence, test materials carefully, and use a course only when its curriculum matches the skill you actually need. One finished project will teach you more than ten saved tutorials.