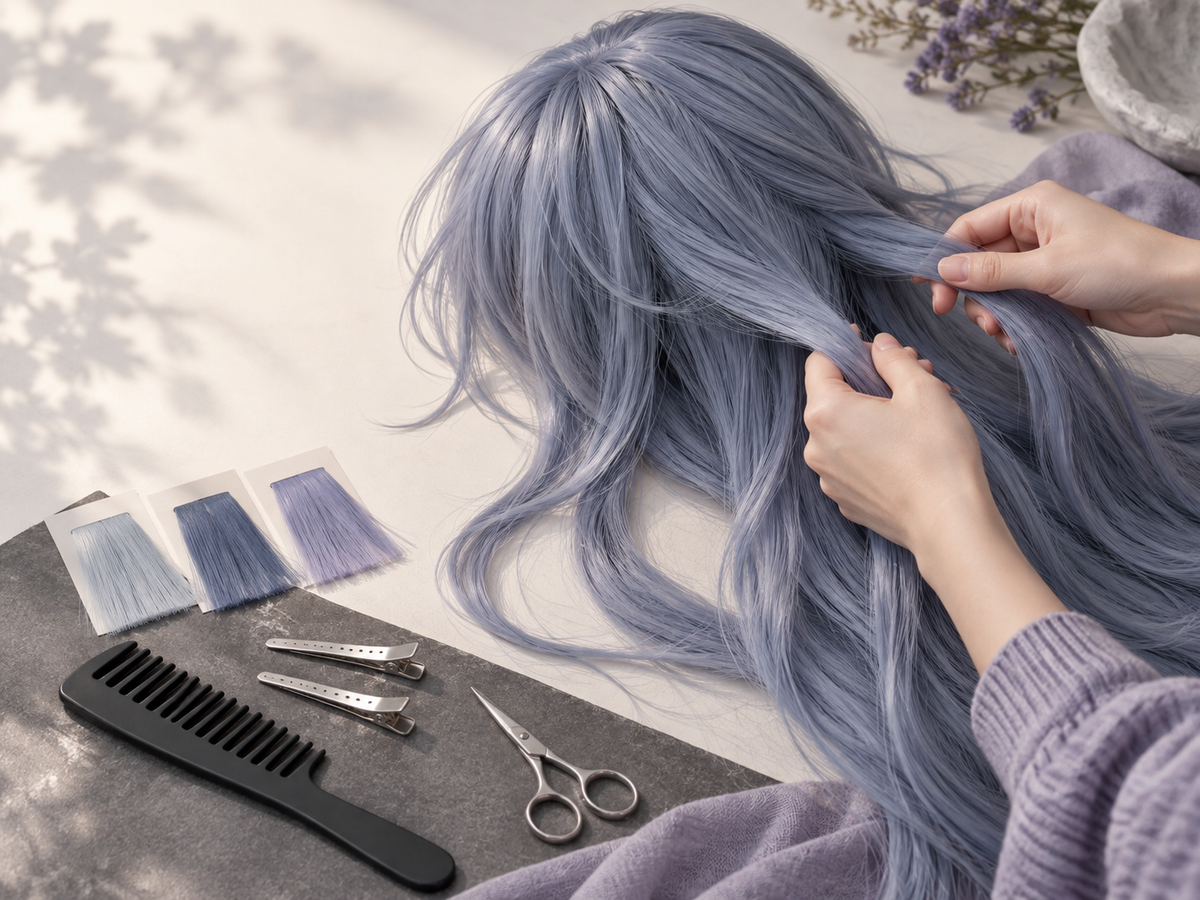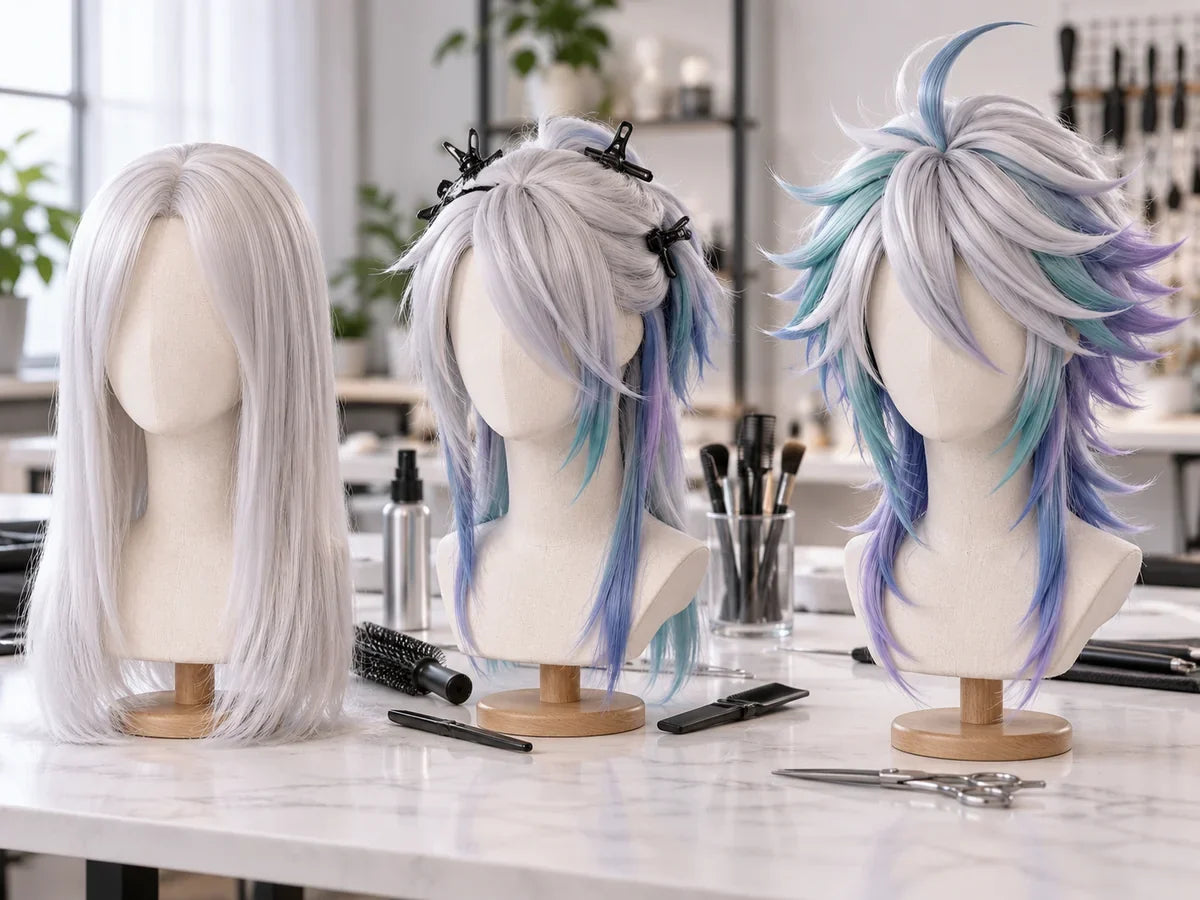

Learning how to style a Maelle cosplay wig requires more than adding volume to long copper-red hair. For cosplayer GrangeAir, the most difficult detail was creating a convincing part at the back of the wig without exposing its construction.
After researching different techniques, GrangeAir developed a method using large sections of hair, adhesive, and careful parting. If you are learning these techniques for the first time, begin with our complete guide to styling a cosplay wig. The finished cosplay received plenty of compliments at the convention, making the preparation worthwhile.
Why GrangeAir Chose Maelle
GrangeAir is a fan of Clair Obscur: Expedition 33, and Maelle’s long-haired look quickly became a favorite.
“I love Expedition 33, and this is my favorite look. I was so glad when the cosplay finally came together with the completion of the wig.”
The wig was the final element needed to bring the character to life. Once the complete cosplay was ready, GrangeAir wore it to a convention, where it attracted plenty of positive attention.
“Everyone was complimenting my cosplay at the con.”

Why the Back Parting Was the Biggest Challenge
A long wig may look convincing from the front while still revealing its wefts or cap at the back. This becomes especially noticeable when the hairstyle requires the hair to separate in different directions.
GrangeAir spent time researching how other wig stylists created clean back partings before attempting the technique.
“I had to research intensively to find the best way to make the parting at the back. I think it went pretty well.”
Careful planning was important because the parting needed to look intentional without creating a visible gap in the wig.

How GrangeAir Created the Back Parting
GrangeAir began by separating several large sections of hair near the center back of the wig.
These sections were brought toward the middle and secured at their base with adhesive. After the adhesive had dried completely, the larger sections could be divided and directed toward opposite sides. This created the appearance of hair growing naturally away from a central part.
- Identify the position where the back parting should begin.
- Separate several large sections of hair from both sides.
- Bring the sections toward the center and secure their bases.
- Allow the adhesive to dry completely.
- Divide and arrange the secured sections in opposite directions.
- Check the wig from multiple angles and cover any visible gaps.


When recreating this technique, use an adhesive suitable for synthetic wig fibers. Work in a ventilated area, follow the product instructions, and test a small hidden section before applying it to a visible part of the wig. You can find adhesives, combs, clips, pins, scissors and other supplies in the KOOLLIA wig styling tools collection.
Why Wig Thickness Matters
The density of the wig made the back-parting technique easier. GrangeAir had enough hair to redirect large sections without leaving obvious gaps in the finished style.
“The wig was very thick and easy to crimp. It was also very long, which is not easy to find elsewhere.”
A thick wig provides more styling flexibility, particularly when creating a part, covering exposed wefts, or adding volume. A thinner wig may require additional wefts before the same technique can be attempted.
The length was equally important. Maelle’s hairstyle relies on a dramatic fall of long copper-red hair, so a shorter wig would not create the same silhouette. Cosplayers building a character hairstyle from the beginning can compare different lengths and densities in our cosplay wig bases for DIY styling.
Adding Texture with Crimping
Crimping a wig for volume gave the long synthetic fibers more texture and made them easier to control.
Instead of working with large sections, separate the hair into manageable pieces and move gradually through the wig. Focus on areas that need volume or structure rather than automatically crimping every visible strand.

Check the wig’s recommended heat limit before using a crimper. Test a hidden section first and avoid leaving the tool in one place for too long. If the synthetic fiber is suitable for heat styling, a wig crimper with adjustable heat settings can help create controlled texture and internal volume.
Long wigs also tangle easily, so support the hair while working and avoid pulling the full weight of the wig through a brush at once.
Position the Wig Low on the Forehead
Wig placement can change how closely a cosplay resembles the character, even when the styling itself is accurate.
GrangeAir recommends wearing the wig relatively low because Maelle does not have a particularly high forehead. Placing the hairline too far back can change the proportions of the face and make the wig feel less character-accurate.
Test the position before securing the wig. Look at the complete shape from the front and sides, then adjust the hairline until the proportions feel balanced. Our guide on keeping a cosplay wig from slipping explains how to prepare the natural hair, position the wig cap and secure the finished wig.
Comfort still matters. The wig should sit securely without pressing painfully against the eyebrows or restricting facial movement.

Maelle Cosplay Makeup: Start with Freckles
When asked for her most important Maelle makeup tip, GrangeAir gave a direct answer:
“Lots of freckles!”
Freckles help make the character recognizable while adding texture to the makeup. Use a few different sizes and levels of intensity instead of creating identical dots across the face.
Concentrating the freckles around the nose and upper cheeks can make them look more natural. Lightly pressing over them with a sponge can also soften any marks that appear too dark.

Use Dark, Thick Brows
Maelle’s eyebrows should not simply match the copper-red color of the wig. GrangeAir recommends making them noticeably darker and thicker.
The contrast gives the face more definition and helps the expression remain visible in photographs. It also reflects the character design more accurately than matching the eyebrows directly to the wig.
Build the brows gradually rather than drawing one heavy line. This makes it easier to control their shape and intensity.
Keep the Lashes Short and Natural
Large false eyelashes are common in cosplay makeup, but they are not always the best choice for every character.
GrangeAir recommends avoiding oversized lashes for Maelle because her eyelashes are relatively short. A lighter lash style—or carefully applied mascara—can preserve the character’s softer appearance.
This is a useful reminder that more dramatic makeup is not automatically more accurate. The shape and scale of each detail should support the character being portrayed.
Capturing Maelle’s Playful and Serious Sides
Maelle’s personality gives cosplayers room to create photographs with very different moods.
GrangeAir notes that Maelle often holds her hands behind her back and appears playful. This pose works well for lighter photographs and captures her youthful energy.
Maelle can also be serious and deeply sad. Including quieter expressions, lowered eyes, or more reserved body language helps represent that part of her story.
“Having both moods for the photoshoot would be great.”
A varied photoshoot can therefore include both playful poses and more emotionally restrained portraits. Together, they present a fuller interpretation of the character.
Starting Cosplay with Friends
GrangeAir’s advice for new cosplayers is to focus on enjoyment rather than perfection.
“Cosplay is fun, and no one needs to be perfect to do cosplay.”
Beginning with friends can make the experience feel less intimidating. Friends can help with makeup, difficult costume pieces, convention preparation, and photographs. They can also make mistakes feel like part of the process rather than a reason to stop.
A complicated wig technique may take several attempts. That does not mean the cosplay has failed. Research, experimentation, and small corrections are all part of learning.
What GrangeAir Learned from the Maelle Cosplay
GrangeAir’s experience offers several practical lessons for anyone preparing a Maelle cosplay wig:
- Use large sections of hair to construct a convincing back parting.
- Let the adhesive dry completely before separating and arranging the hair.
- Choose a thick wig so there is enough fiber to cover the underlying construction.
- Crimp selected sections to add texture and make long fibers easier to control.
- Position the wig low enough to match Maelle’s facial proportions.
- Use freckles, dark brows, and understated lashes to complete the character.
- Photograph both Maelle’s playful and serious sides.
The finished cosplay did not need to be perfect to make an impression. It only needed careful preparation, a willingness to experiment, and a genuine connection with the character.
See GrangeAir’s Maelle Cosplay
Watch GrangeAir’s Maelle cosplay reel on Instagram.
Frequently Asked Questions
How can I create a back parting on a cosplay wig?
Bring large sections of hair toward the center and secure their bases with a wig-safe adhesive. Once the adhesive has dried completely, separate and arrange the sections in opposite directions to create the appearance of a natural part.
Does a wig need to be thick to create a back parting?
A thick wig makes the process easier because there is more fiber available to cover the cap and exposed wefts. A thinner wig may need additional wefts before a clean back parting can be created.
What makeup details are important for a Maelle cosplay?
Focus on visible freckles, dark and relatively thick eyebrows, and short, natural-looking eyelashes. These details match Maelle more closely than brows matching the wig or oversized false lashes.
How should I pose for Maelle cosplay photos?
Try playful poses with your hands held behind your back, then add more serious or sad portraits. Showing both moods creates a more complete interpretation of Maelle’s personality.